Flat-pack furniture has a reputation it half deserves. Built carefully it lasts years; built in a hurry on a hard floor it develops a lean within a month. The difference is almost never the quality of the parts. It is the order you do things in and what you build on.
Before you open the bag of fittings
Clear a space bigger than the finished unit and put down the flattened carton. Building directly on a hard floor scratches the panels, and building on carpet makes the base sink unevenly while you work. The carton solves both.
Then count the fittings against the parts list. It takes four minutes and it is the difference between discovering a missing cam bolt now or at step eleven with the unit half built.
Sort by type, not by step
Tip the bag out and group the fittings: cam bolts in one pile, cam locks in another, dowels, screws by length, shelf pins. Instructions refer to them by shape, and a cam bolt and a long screw look similar enough at speed to cause an hour of unpicking.
The three fittings you will meet
Dowels
Plain wooden pins that locate two panels against each other. They carry no clamping force — they only stop the joint sliding. Push them in fully by hand; if one is tight, tap it with a mallet rather than hammering the panel it is going into.
Cam bolts and cam locks
The bolt screws into one panel, the disc-shaped lock drops into a round hole in the other and rotates to grip the bolt head. Two things go wrong here. The bolt is screwed in crooked, so the head never reaches the lock. Or the lock is inserted the wrong way round — the arrow on its face must point at the hole the bolt is coming from.
Turn the lock half a rotation and stop. Continuing to turn does not tighten it further; it strips the chipboard around the housing, and that is the wobble you will feel in six months.
Confirmat and coarse screws
These bite directly into the board. Drive them until the head is flush and then stop. Overdriving pulls the head through the surface layer and the joint loses most of its strength.
Order of operations
- Lay both side panels face down and fit all dowels and cam bolts to them first, while they are flat and accessible.
- Attach the base and the top before any shelves. These two panels square the whole carcass.
- Check for square by measuring the diagonals across the open carcass. If the two diagonals match, the unit is square. If they differ, push the longer diagonal until they agree.
- Fit the back panel while it is still square. The back is what holds it square permanently, and it is the step most often left until last or skipped entirely.
- Only then fit shelves and doors.
The back panel is structural
Thin hardboard backs look flimsy and get treated as cosmetic. They are not. A carcass without its back is a parallelogram waiting to happen. Use every pin or screw supplied, spaced evenly, and make sure the panel sits in its groove or flush to the rebate all the way round before you fix the second corner.
Tools worth having
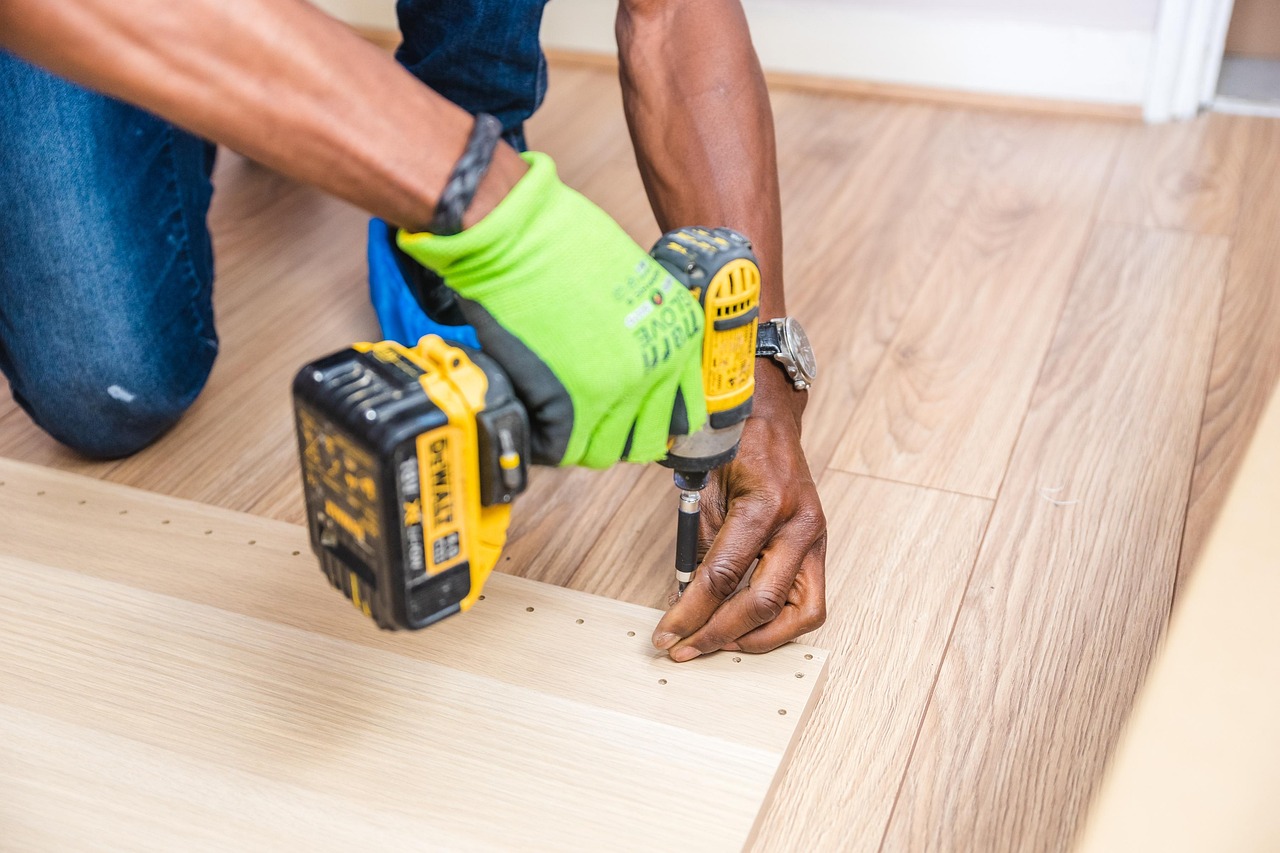
- A hand screwdriver for cam bolts and the final turns — a power driver is too fast to feel the moment a fitting seats.
- A rubber mallet, not a hammer.
- A tape measure for the diagonal check.
- Something soft to kneel on. Two hours on a hard floor is its own argument.
Afterwards
Re-check the cam locks after a fortnight. Chipboard settles slightly under load and a quarter turn at that point keeps everything tight. Anchor tall units to the wall before you load them, not after.
If a part arrives damaged or a fitting is missing, contact us with the part number from the instruction sheet — our Return & Refund Policy covers damaged and defective items, and a single replacement panel is usually quicker than returning the whole unit.